I’d been thinking of setting up a personal website for a while. I wanted to have a little corner of the Internet where I could introduce myself and my work, build up a writing habit, and have a bit of fun tinkering with web development. When I set out to do this, I wanted to land on a solution that was:
- Quick to set up but good-looking out of the box
- Customisable
- As cheap as possible
Calling what I’m using a “tech stack” is like calling a toaster a supercomputer, but it does the job on all three fronts. In terms of costs, I’m only paying for the yearly domain rental!
The site is still in its early days with lots of improvements to be made, but I thought I’d share how I went about building it! It consists of two sections: a landing page and this blog. Somewhat unusually, I decided to build these separately.
The landing page
I’ve been setting up a freelance product consulting practice, and wanted a way to introduce myself and my services. As a side gig, I have limited time to devote to it, but I still wanted to build something more professional than a LinkedIn page.
At first I started with a Static Site Generator, Hugo on Netlify, picked a nice-looking theme with lots of features, and got going. In a few days, I had a multilingual English/Japanese page, with cringey AI-generated images, a contact page, some nifty animations, and a few words about me.
After showing it to a couple of friends and potential clients, I realized that… reading it, they had no idea of what I was trying to offer or say! I had certainly had a lot of fun building the site, but I had treated content as an afterthought, and the process I had was not built for iterating on it. Any change, from a wording tweak to a page overhaul, was going to require a lot of “extra” work: edit the text, test it on different viewports, fix the stylesheets, find some new UI bug, and update the Japanese translation, just to realize I wanted to make another change.
For a budding business trying to find its feet, this was not going to cut it.
I explored a few solutions, but wasn’t happy with any of them:
- An all-in-one design and hosting solution like Squarespace: great-looking and very powerful, but too expensive at this stage
- A Notion page: clean-looking and easy to iterate, but required a paid plan to publish under a custom domain
- Self-hosted Wordpress: while it’s a well-established solution, it was too complex for my use case, and hosting a non-static website can get costly quickly.
Eventually, I landed on a solution straight from the 2010s: Google Sites.
The good:
- It’s free
- It supports custom domain names
- It’s really fast to set up and iterate on content with its simple WYSIWYG editor
- It looks alright and offers responsive layouts
The not-so-good:
- It doesn’t offer very fine-grained style customisation
- It does not support i18n (internationalisation), so creating a Japanese page will require some work
- It does not support additional content (outbound links in the menu, embedded HTML, etc.), which made for some wonky workarounds
- It’s not quite “my own”, as it can’t be ported easily and Google has a reputation for aggressively sunsetting products (RIP Google Domains)
Actually, the limited feature set was somewhat refreshing, as it allowed me to focus on the content, and not get distracted by lower-priority concerns. Having one published page in English is better than having a fully bilingual site sitting on my laptop, right?
Here is what the site looks like now:
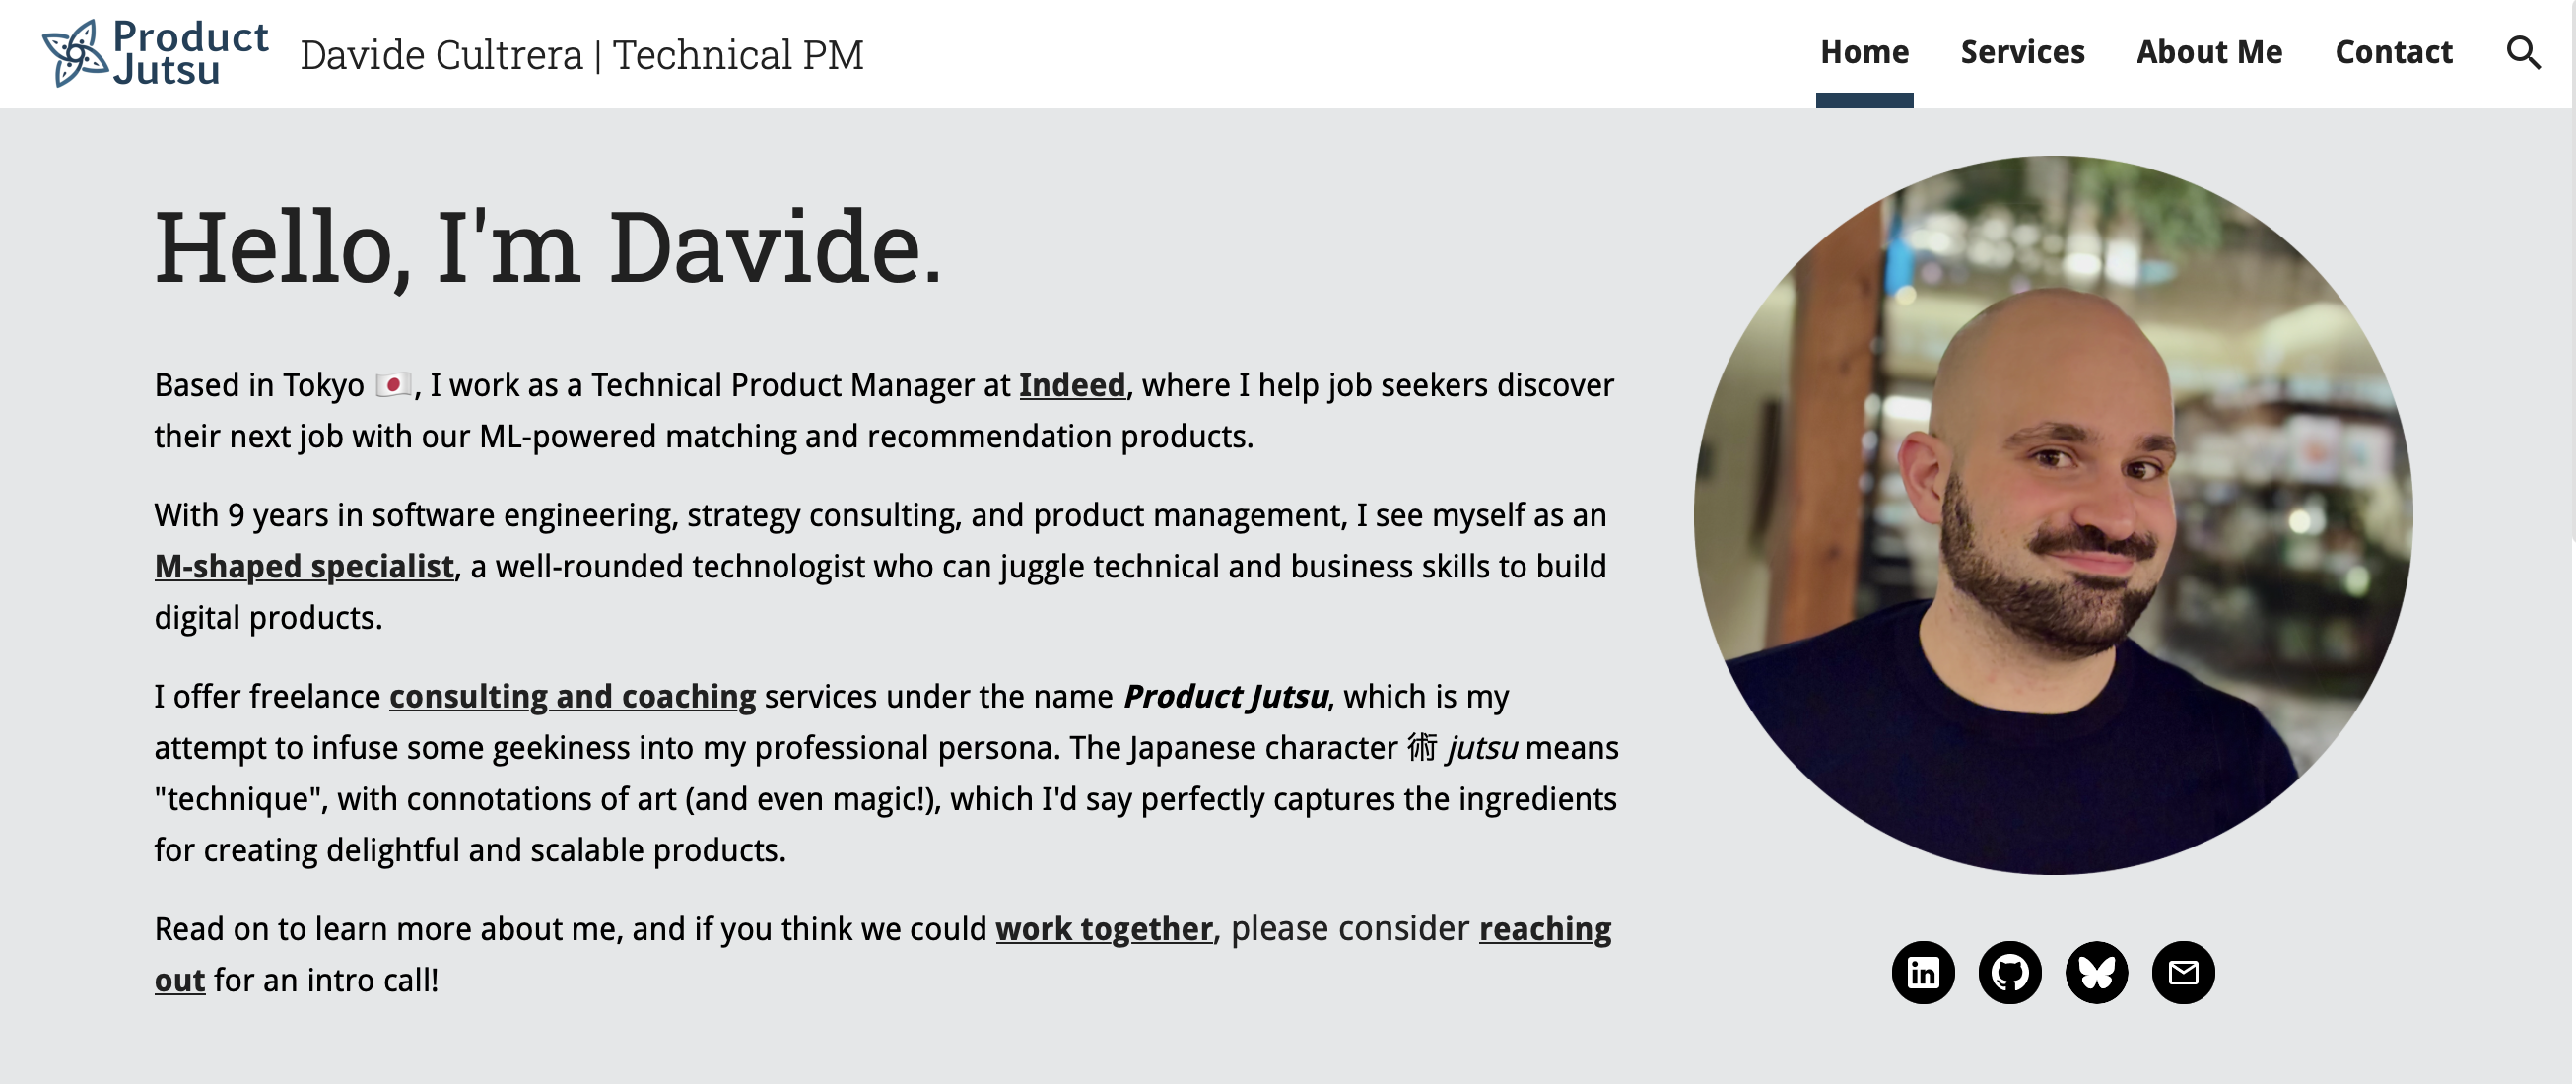
The Product Jutsu landing page
The blog
After getting the landing page set up efficiently, I was going to have my fun building out the blog. Here, I also wanted to be able to start quickly, but keep the freedom to experiment and tinker with web development as the blog evolves.
This time, Hugo on Netlify was the clear winner from the start: it’s an established and well documented framework, fast to build, feature-rich, and has a host of themes to choose from. It’s worth mentioning that Netlify’s free tier is perfect for hosting small statically-generated websites like this.
When it came to choosing a theme, I opted for the minimalist PaperMod: its default state is clean, readable, and responsive. It also packs a lot of helpful UI functionalities, such as a light/dark theme switcher, nice navigation breadcrumbs, a page archive, etc.
Learning how Hugo themes work with Git submodules has also been interesting, and I’ve been able to easily play around with the default theme, like when finding a way to display a post’s “tags” on the homepage list.
Finally, all that was left was to hook up the blog subdomain in my DNS manager to the Netlify instance, and the blog was live!
Bonus I: Contact form
With Google Sites, the easiest solution to create a contact form would have been with an embedded Google Form. Unfortunately, the default Form design is not particularly subtle and it cannot be customised.
After a bit of research, I went for Tally: it offers clean-looking, fully customisable forms with a somewhat Notion-esque flavour, which can be embedded as standalone pages, modals, or popups. On top of that, it free tier offering is very generous, perfect for someone just starting out at a small scale.
Bonus II: Emails
Having an email account with a custom domain is a costly affair, where most established solutions that require you to buy into their productivity suites (like Gmail or Outlook), or upgrade to a higher service tier (like Proton).
The simplest solution would have been to create a free account with any email provider, like productjutsu @ proton.me, but I didn’t love idea, and I wanted to make my life just a little bit harder to keep things looking good.
To my surprise, I learned that my existing Apple iCloud+ plan offered Custom Email Domain for iCloud Mail. Setting it up was quite simple, and while Apple Mail is not my favourite client, it’s been working well.